Last Updated on August 24, 2025
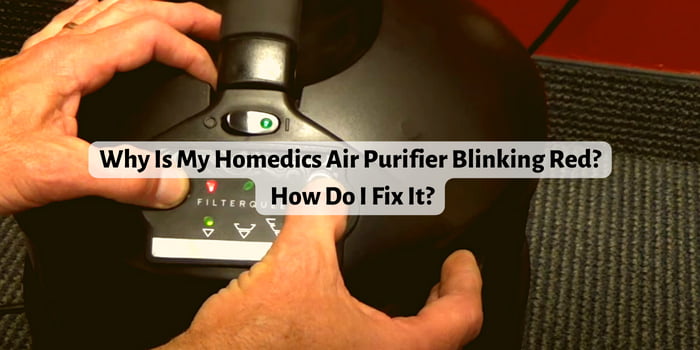
While using the Homedics air purifier, you might notice the LED light going crazy in the control panel. It is there to provide you with information when something goes wrong with the device. To illustrate, this indicator can alert you when the air purifier requires a filter replacement. But the status is not the same for all errors.
For example, you can see the light turning red and wonder why is my homedics air purifier red light. Well, it is blinking red because the UV-C bulb has burnt out. And the indicator is alerting you to replace it as soon as possible.
But what exactly is the UV-C bulb there for, and how do you replace it? You can learn all about it by reading till the end.
What Does the UV-C Bulb Do for Homedics Air Purifiers?
The UV-C bulb in the Homedics air purifiers is there to create a short-wave ultraviolet light. This light has the ability to inactivate any of the airborne pathogens that might be in the air. It also inactivates microorganisms, which include viruses, bacteria, and mold.
Like any of the other advanced air purifier technologies, UV-C light aims to lower the impurities in the air by inactivating pathogens and microorganisms. Air purifiers with this technology will effectively purify the indoor air and offer a healthy breathing environment.
Learn More: why is my air Purifier red?
How to Solve Homedics air purifier red light?
As we have stated earlier, you will need to replace the UV-C light of the homedics air purifier blinking red light issue. And to replace the light, go through these steps:
Step 1: Turn the Air Purifier Off and Unplug It
The first thing that you should do is turn the device off. Also, get the power cord out of the wall outlet. You might end up with damaged components if you leave the air purifier on while you work on it. For that reason, turning the device off is crucial.
Step 2: Remove the UV-C Bulb Cover
First, you will need to remove the HEPA-type filter on the top of the cover. Then, get yourself a Phillips head screwdriver and work on the screws that are on the UV-C bulb. There should be two right in the middle of the panel. Unscrew them and keep them in a safe place. After that, the cover should come out easily.
Step 3: Get the Defective UV-C Bulb Out
After taking the cover off, you should be able to see the UV-C bulb. Now, to take it off, you will need to gently push it from the sides and rotate it. Do not put too much force, or you will break the bulb. And although you will not be able to use the bulb anymore, broken pieces of glass will be a pain to deal it.
Step 4: Install the New UV-C Bulb
At this point, all that is left for you to do is to set the new bulb in place. Hold it on both ends and push it into the slots. Again, do not put too much force, or you will end up with a broken UV-C bulb that was perfectly fine.
After putting the new UV-C bulb in place, you need to put the cover back on. Put the two screws in the middle and fasten them with the screwdriver. Then, place the HEPA-type filter into the slot. Turn the air purification device on, and the red blinking light should not be there anymore.
Final Words
Now you know what to do when you see a blinking red light on the Homedics air purifier. So, instead of wondering why is my Homedics air purifier blinking red, go through the steps we have discussed and fix the issue immediately.

thank you
welcome
I have a blinking red Light problem. I replaced the bulb, worked for 5 minutes or so then the blinking started again. I put in another bulb, reset it and it once again started blinking red again. I reset it again, Worked for a little bit and now again the blinking red light. Don’t know what else to do. Any suggestions?
Check the filter and sensor ,Reset the unit and Make sure there are no obstructions blocking the air intake or outlet on the air purifier.
If none of these steps resolve the blinking red light issue, contact Homedics customer support for assistance. They may be able to provide further troubleshooting steps or help you get a replacement unit if necessary.